


Most perennials grow by sending up new stems from their underground parts. They spread and form clumps that eventually become crowded and exhausted. In some cases, the centre dies back, producing a “doughnut” effect. Crowded plants may produce smaller blooms or become less vigorous. To revitalize such plants, all you have to do is divide them, taking care to keep only the healthy parts.
When to divide perennials
Perennials that bloom after mid-June are usually divided in early spring (late April or early May), and those that bloom in early spring, in early September. In fact, spring-blooming bulbs can be divided immediately after they have finished flowering, in early June. There are some exceptions to this rule, though. Bearded irises should be divided in July, and peonies and poppies, in late August.
It is best to work in the shade or on a cloudy day when dividing plants, to protect the roots from the sun.
How to divide perennials
Use a spade to dig up the entire plant, removing a ball of earth with it. Perennials that grow from rhizomes or tubers, like irises, peonies and poppies, should be cut into sections, keeping three or four buds per section. Those with fibrous roots can be severed, keeping a few buds per section. Plant the healthy sections, taking care not to bury the collar (the point where the roots meet the stem) in the ground. Firm the soil around the roots and water thoroughly.
Dividing a sneezeweed plant
Plant with fibrous roots
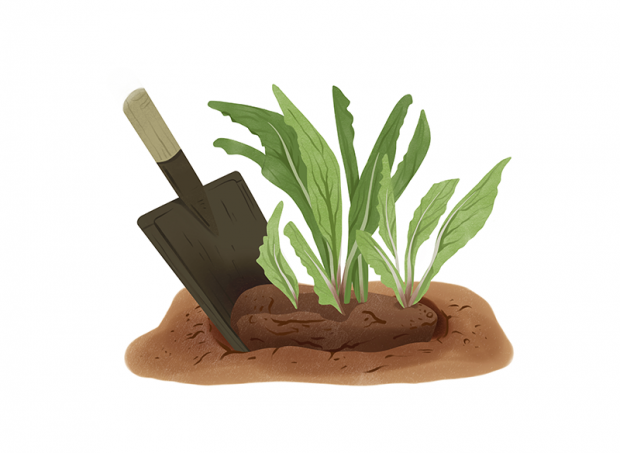 |
Step 1Use a spade to dig up the entire plant, removing a ball of earth with it. |
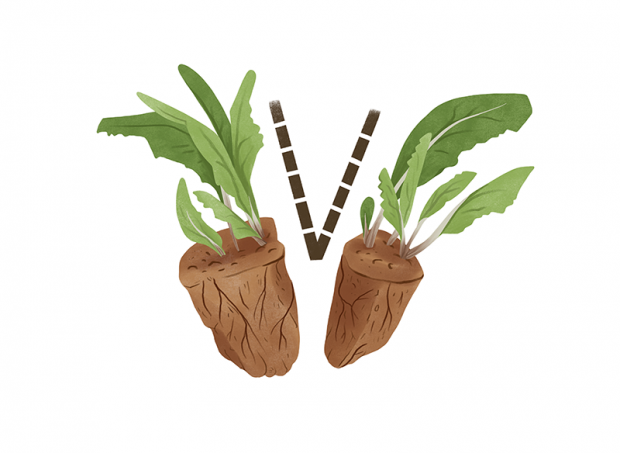 |
Step 2Use an edger or other sharp tool to divide the clump up into several sections. |
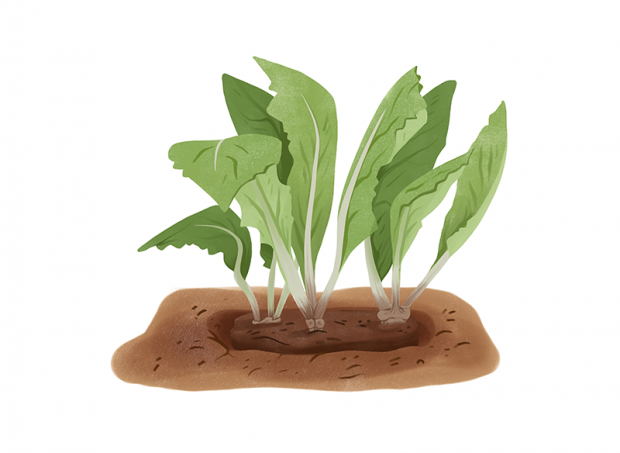 |
Step 3Plant the healthy sections, taking care not to bury the collar (the point where the roots meet the stem). |
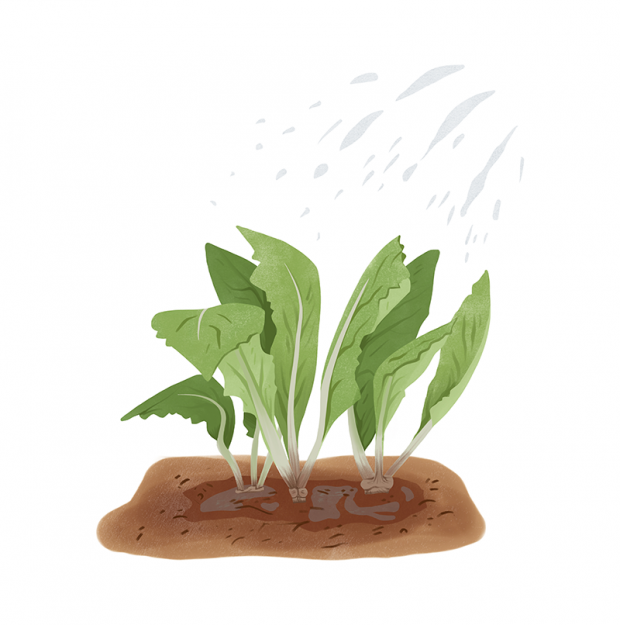 |
Step 4Firm the soil around the roots, build up a shallow rim of soil to trap water around each division and water thoroughly. |
Dividing an iris plant
Plant with rhizomes
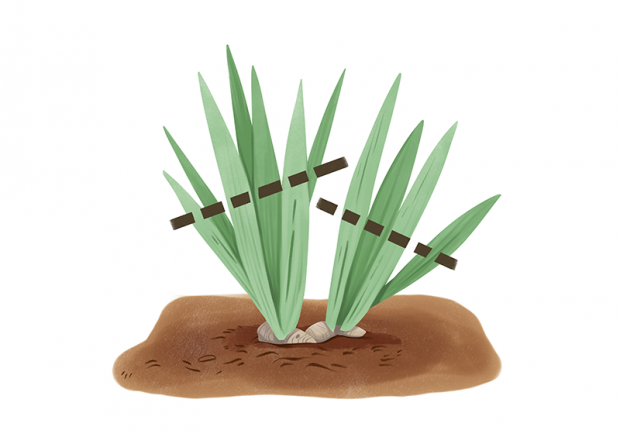 |
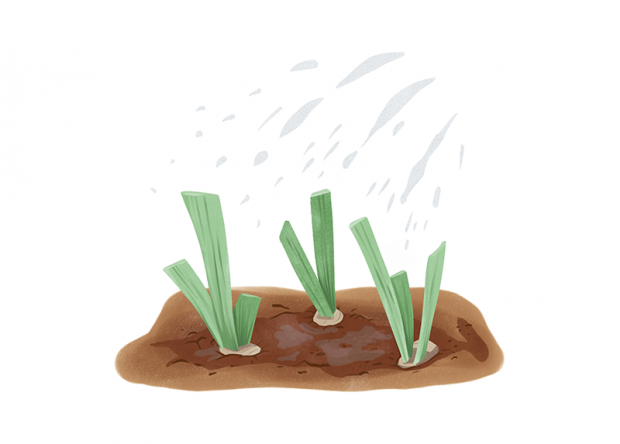
Step 1Cut back the foliage by one-half. |
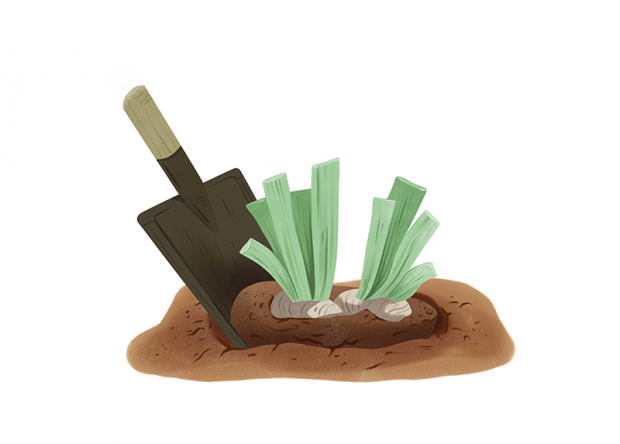 |
Step 2Use a spade to dig up the entire plant, keeping as many roots as possible. |
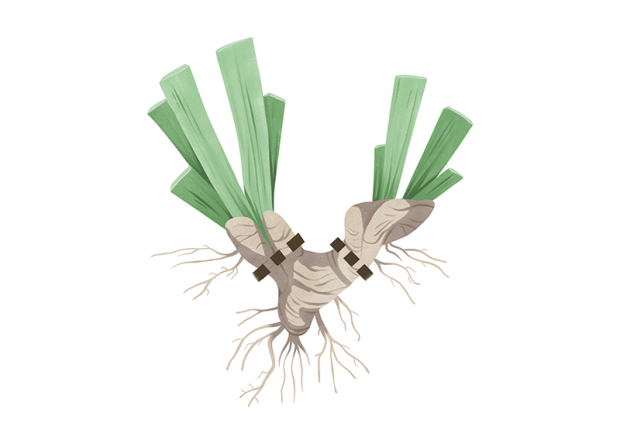 |
Step 3Use a sharp knife to cut the rhizomes into several sections. Keep at least one clump of leaves per section. Discard any rotten sections or those showing iris-borer damage. |
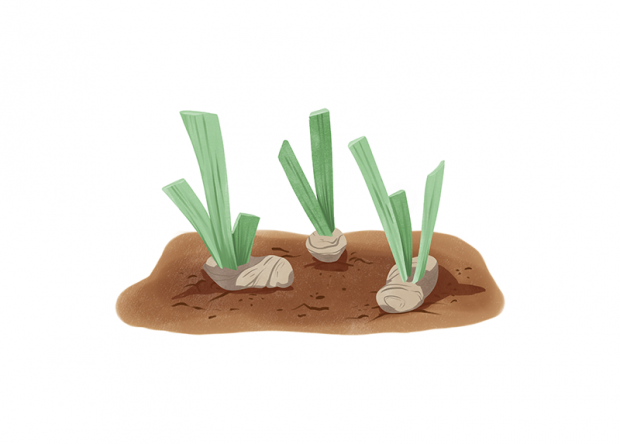 |
Step 4Be careful not to point all the rhizomes in the same direction. Some leaf clumps should point outward and others inward so that they will spread in all directions. |
 |
Step 5Lay the rhizomes flat and bury them just below the surface. The point where the rhizome meets the leaf clump (collar) should not be buried. Firm the soil around the roots, build up a shallow rim of soil to trap water around each division and water thoroughly. |
Illustrations: Espace pour la vie/Audrey Desaulniers